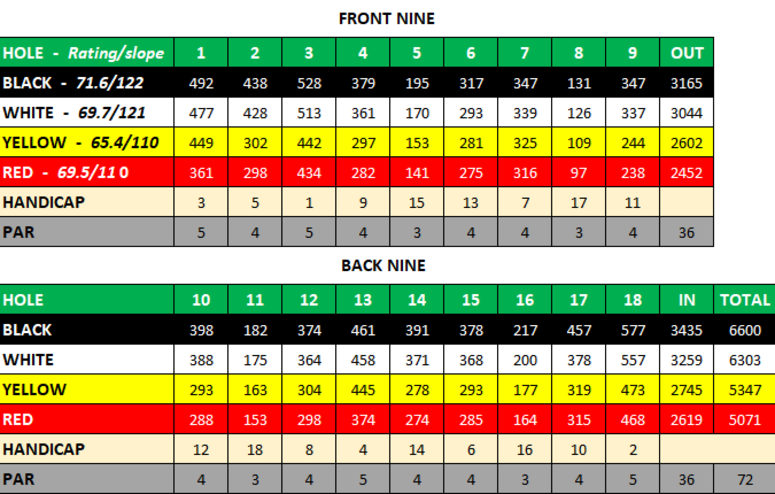
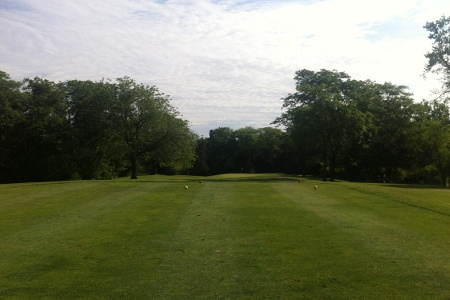
Sheaffer Memorial Golf Course
6,600 yards from the black tees for a par 72.
The course rating is 71.6 with a slope rating of 122.
-
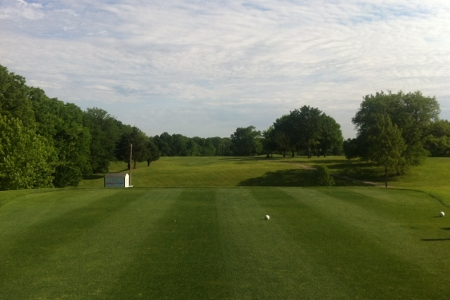
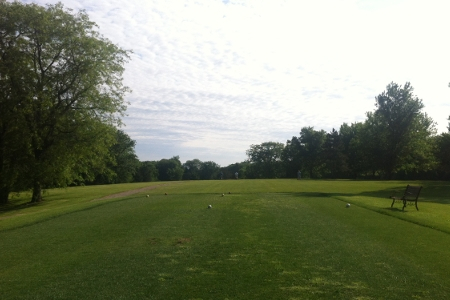
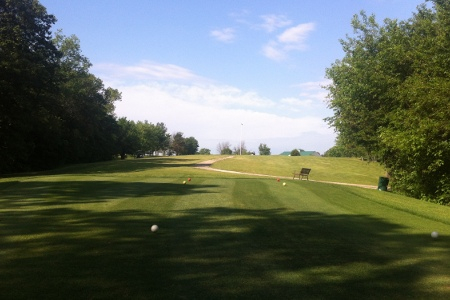
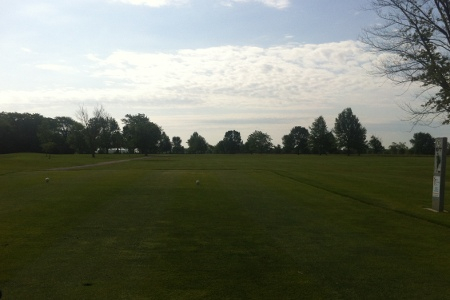
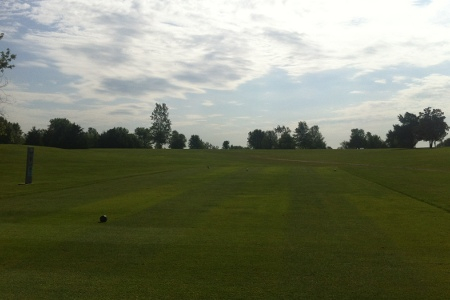
Hole #1
This par 5 is a great way to start out the round. Relatively short for a par 5, it is a good hole for even the short hitters.
Red Yellow White Black 361 yrds 449 yrds 477 yrds 492 yrds -
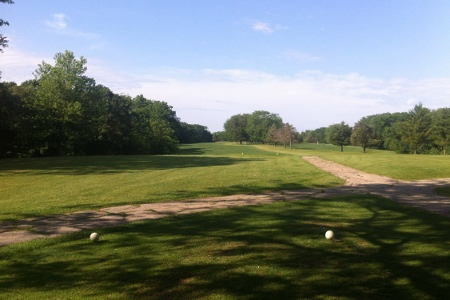
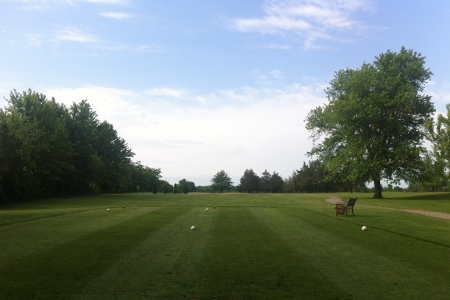
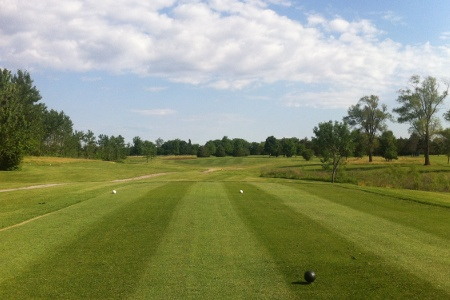
Hole #2
Coming off an easy par 5 right, hole #2 is the hardest handicapped hole on the course from the white tees. The fairway slopes right to left. So even a relatively straight shot can run off into the tall grass or even worse – the woods. The play from the tee is at the right tree line and a smart bail out is keeping the ball to the right side on the fairway.
Red Yellow White Black 298 yrds 302 yrds 428 yrds 438 yrds -
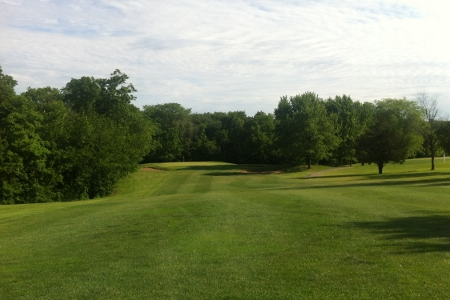
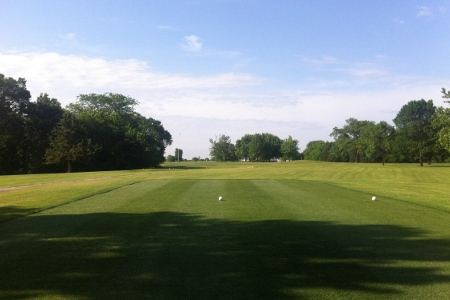
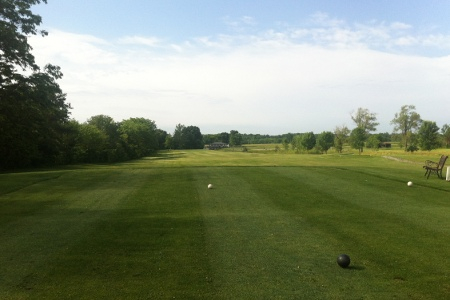
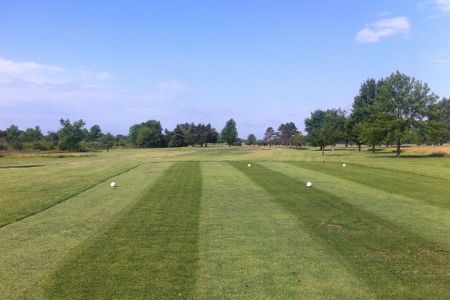
Hole #3
A long par 5 with an uphill tee shot makes for a long hole. This hole has tree lined woods on the left side all the way to the hole as well as trees on the right side. A straight ball from the tee makes this hole much easier to approach. The fun just begins getting to the green. This green severely slopes so a ball BELOW the pin is absolutely necessary to avoid a big number.
Red Yellow White Black 434 yrds 442 yrds 513 yrds 528 yrds -
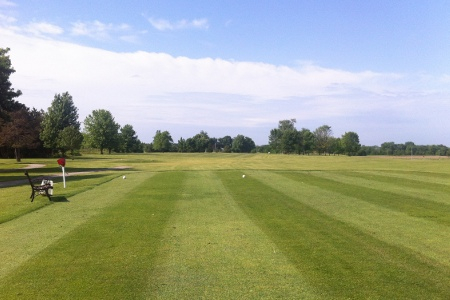
Hole #4
A relatively wide open par 4 slightly dog leg to the left. This green slopes away from the golfer so a shot landing short of pin high is key.
Red Yellow White Black 292 yrds 297 yrds 361 yrds 370 yrds -
Hole #5
This green is tricky, it is humped in the front with a few tiers. The most accessible pin placement is back left. Any shots landing short of the green will be hard to get close, leaving a delicate pull or chip.
Red Yellow White Black 141 yrds 153 yrds 170 yrds 195 yrds -
Hole #6
A straight forward, short par 4. The best place to aim is left of the big flag pole from the tee box. This is a good hole to score well.
Red Yellow White Black 275 yrds 281 yrds 293 yrds 317 yrds -
Hole #7
With a slight dog leg to the left, the key here is to not hit it too far straight away. This will leave trees to contend with for the second shot. When approaching the green, remember that it slopes severely away from the golfer. A shot landing short is key, as anything landing on the putting surface typically will run off the back of the green.
Red Yellow White Black 316 yrds 325 yrds 339 yrds 347 yrds -
Hole #8
A very straight forward short par 3 will give most golfers a more lofted club from the tee on this hole. From the tee box this spread to be a small green, but don't be deceived - there is a lot of green back there! If you have a pin cut toward the back, consider taking an extra half club.
Red Yellow White Black 97 yrds 109 yrds 126 yrds 131 yrds -
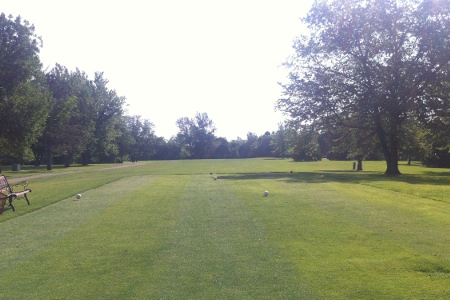
Hole #9
This dog leg right par 4 is a good hole to finish up the front nine. A player can hit on dead center in the middle of the fairway and be left with a 100-150 yards in. You can also consider flirting with the tree line or a nice left to right shot works well with this hole.
Red Yellow White Black 238 yrds 244 yrds 337 yrds 347 yrds -
Hole #10
Another slight dog leg left, the bigger hitters can cut a little of the corner to shorten up the hole. This hole is most important when you get to the putting surface. No matter where the pin is at, it is very wise to stay below the hole to give you a makeable uphill putt.
Red Yellow White Black 288 yrds 293 yrds 388 yrds 398 yrds -
Hole #11
This is one of the longer par 3 holes on the course and tends to play just a little longer than what the yardage gives. Consider going up a club on this hole. It has a very good size putting surface to give you a shot at birdie if you can hit the green.
Red Yellow White Black 153 yrds 163 yrds 175 yrds 182 yrds -
Hole #12
This is the most traitorous tee shot on the course. With out of bounds to the left the entire length of the hole and tall grass on the right about 220 yards off the tee, getting this in place is a must. With a somewhat tiered green like this one, it's a good idea to be short of the pin to have a realistic shot at birdie.
Red Yellow White Black 298 yrds 304 yrds 364 yrds 374 yrds -
Hole #13
If the round is going a little wayward, this is a good hole to get a shot back on. A short par 5 again, but trouble lines the entire left hand side of the hole. The bail out from the tee is to the right. The green slopes left to right so short of the pin is ideal.
Red Yellow White Black 374 yrds 445 yrds 458 yrds 461 yrds -
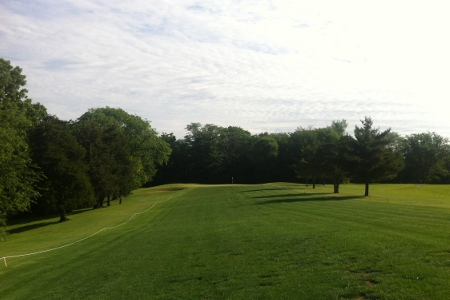
Hole #14
From the tee shot the key here is to keep the ball left of the batch of trees straight away. There is a little room to bail left, so a ball from the tee that doesn’t clear the batch of trees could run into tree trouble.
Red Yellow White Black 274 yrds 278 yrds 371 yrds 391 yrds -
Hole #15
A dog leg right par 4 with a set of trees on the right. A tee shot straight out will give you 100-150 yards in. The green here severely slopes left to right and front to back, The green is a bit deeper than you can see from the fairway. This green is a tough one to get a ball close to the pin.
Red Yellow White Black 285 yrds 293 yrds 368 yrds 378 yrds -
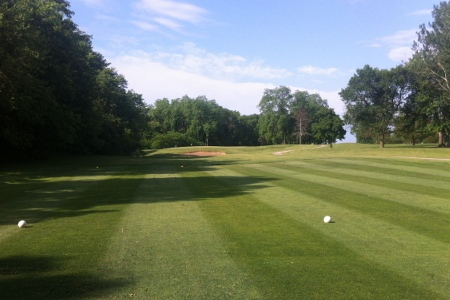
Hole #16
A VERY long par 3 that is protected by two sand traps. Hitting the green here is a plus. Even the best of golfers will take 3 and move on very quickly.
Red Yellow White Black 164 yrds 177 yrds 200 yrds 217 yrds -
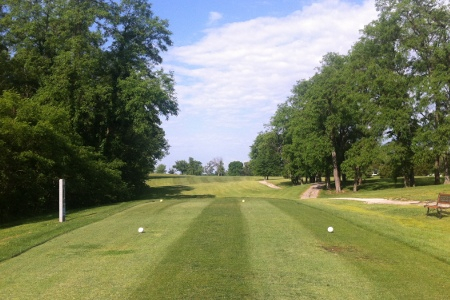
Hole #17
The tee shot on #17 is pretty wide open so swing away. However, it is a slight dog leg right, so just make sure you stay left out of the handful of trees on the right side.
Red Yellow White Black 315 yrds 319 yrds 378 yrds 457 yrds -
Hole #18
The home hole is a long par 5 ranking the 2nd hardest handicap hole on the course. The road is out of bound the entire length of the hole as well as the white states on the right side separating the driving range. This is a tough par 5 to get onto the green in two, even for the bigger hitters.
Red Yellow White Black 468 yrds 473 yrds 557 yrds 577 yrds